word插入背景图片打字技巧,快速排版打印,页面设置快捷轻松
Hello大家好,我是小捷。今天跟大家分享一下word插入背景图片打字技巧,快速排版打印,页面设置快捷轻松。
有个好消息!为了方便大家更快的掌握技巧,寻找捷径。请大家点击文章末尾的“了解更多”,在里面找到并关注我,里面有海量各类模板素材免费下载,我等着你噢^^<——非常重要!!!
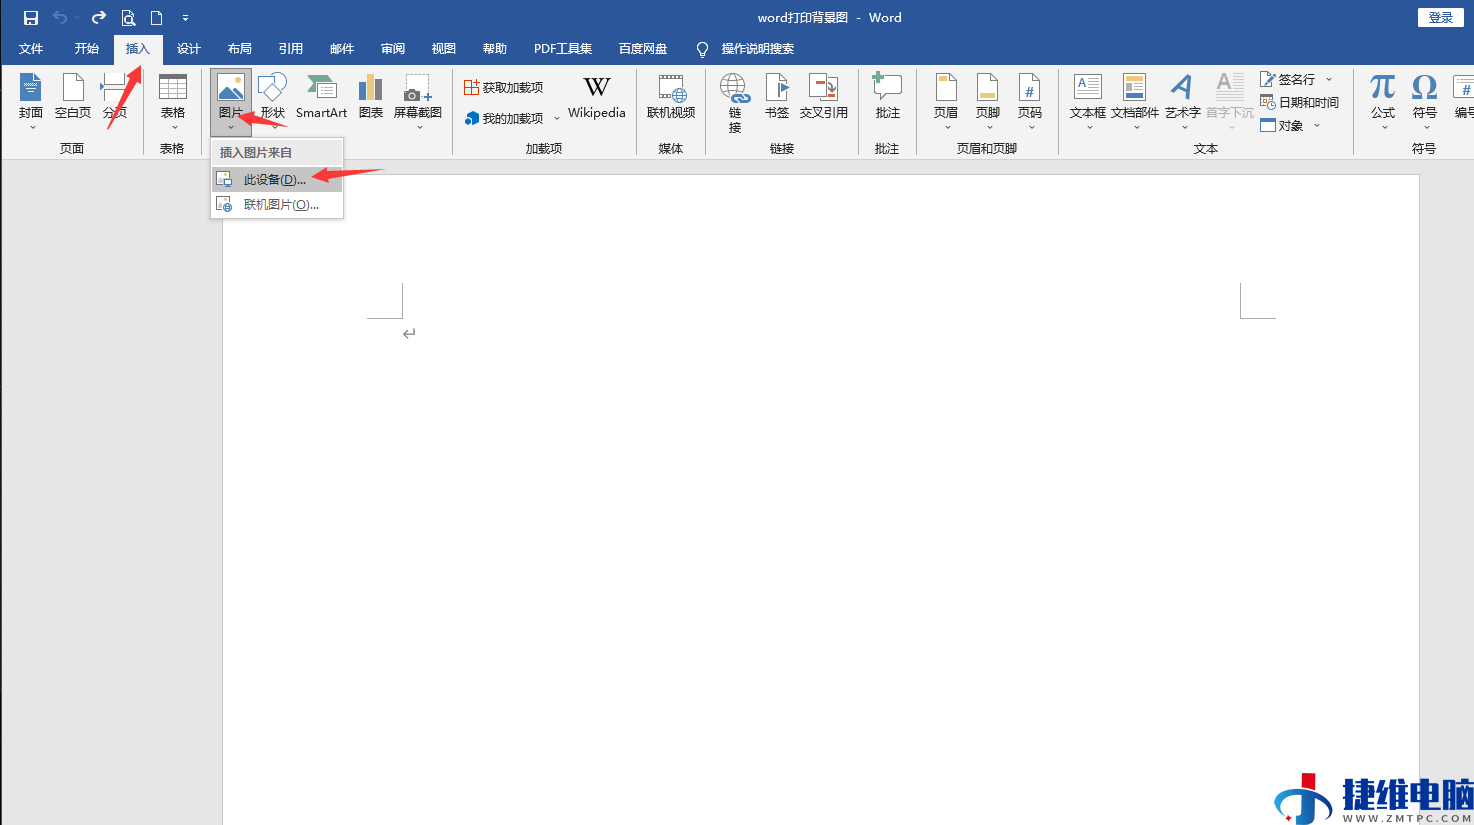
メ大家请看范例图片,word插入背景图片打字技巧,我们点击插入——图片——此设备,在电脑里面找到图片文件进行添加。メ
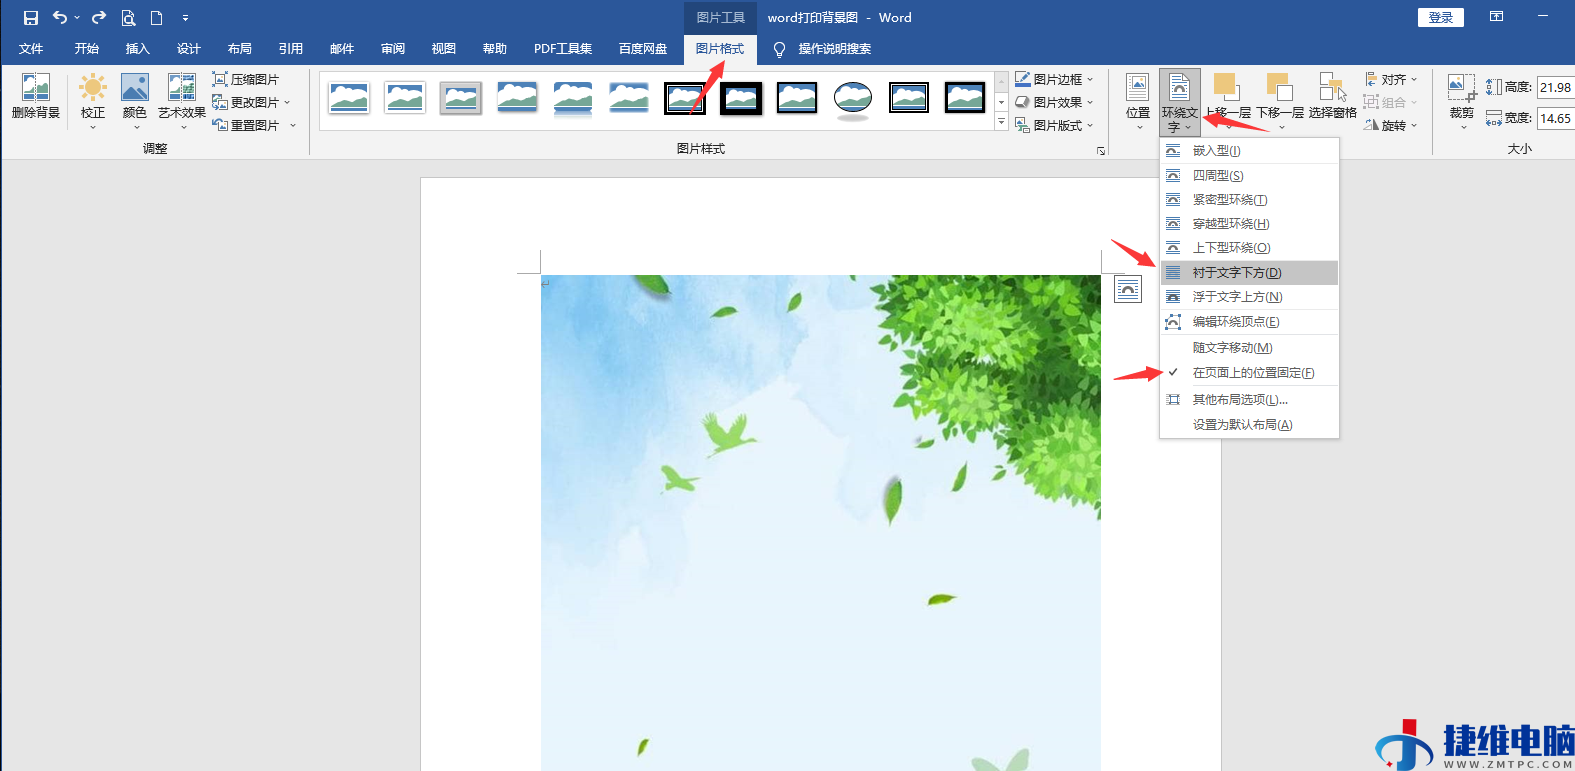
メ插入图片文件后,点选图片——图片格式——环绕文字,选择衬于文字下方,点选在页面上的位置固定。メ
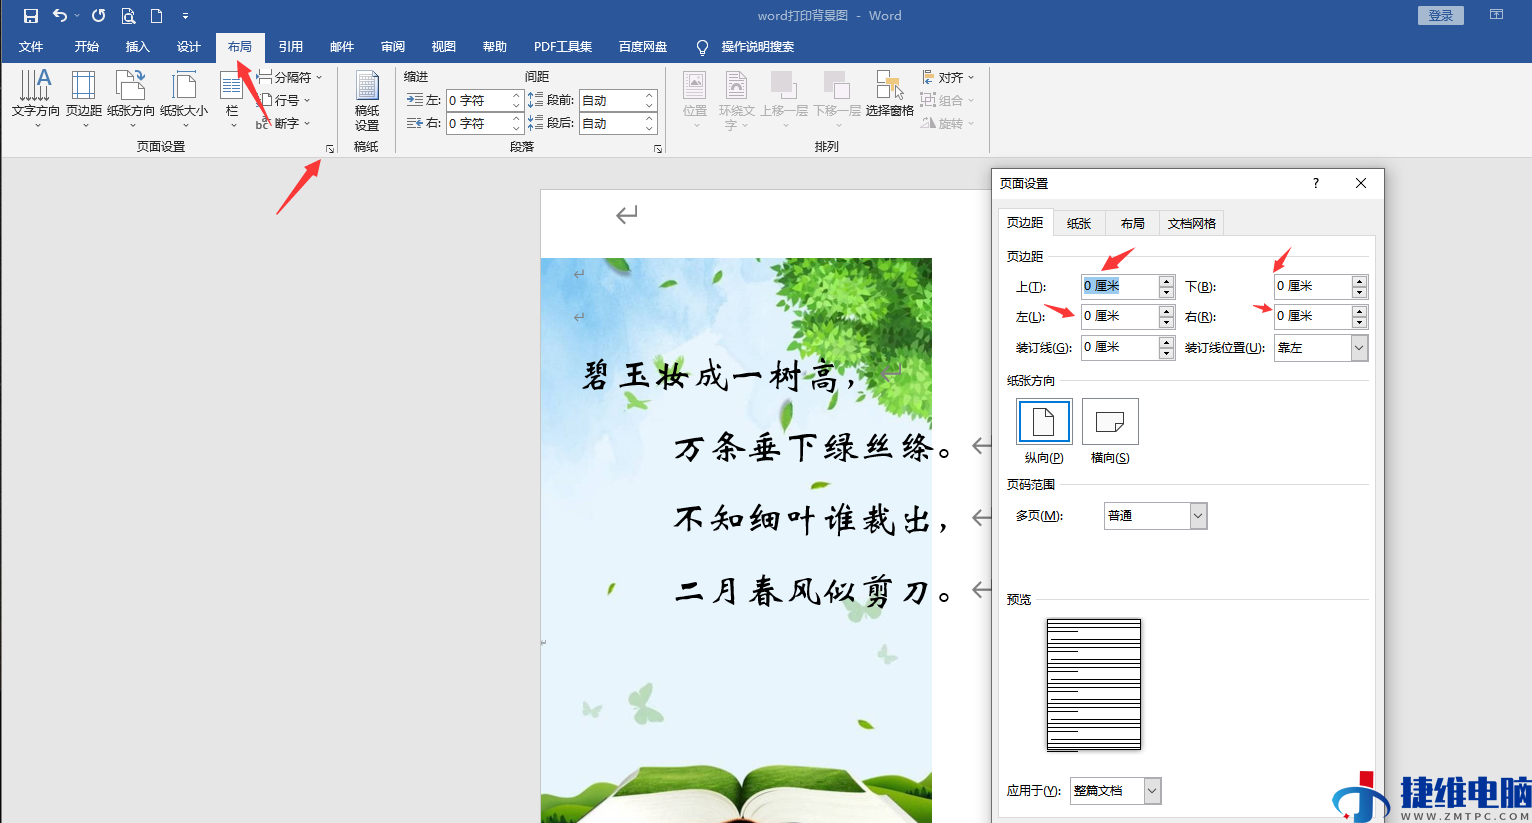
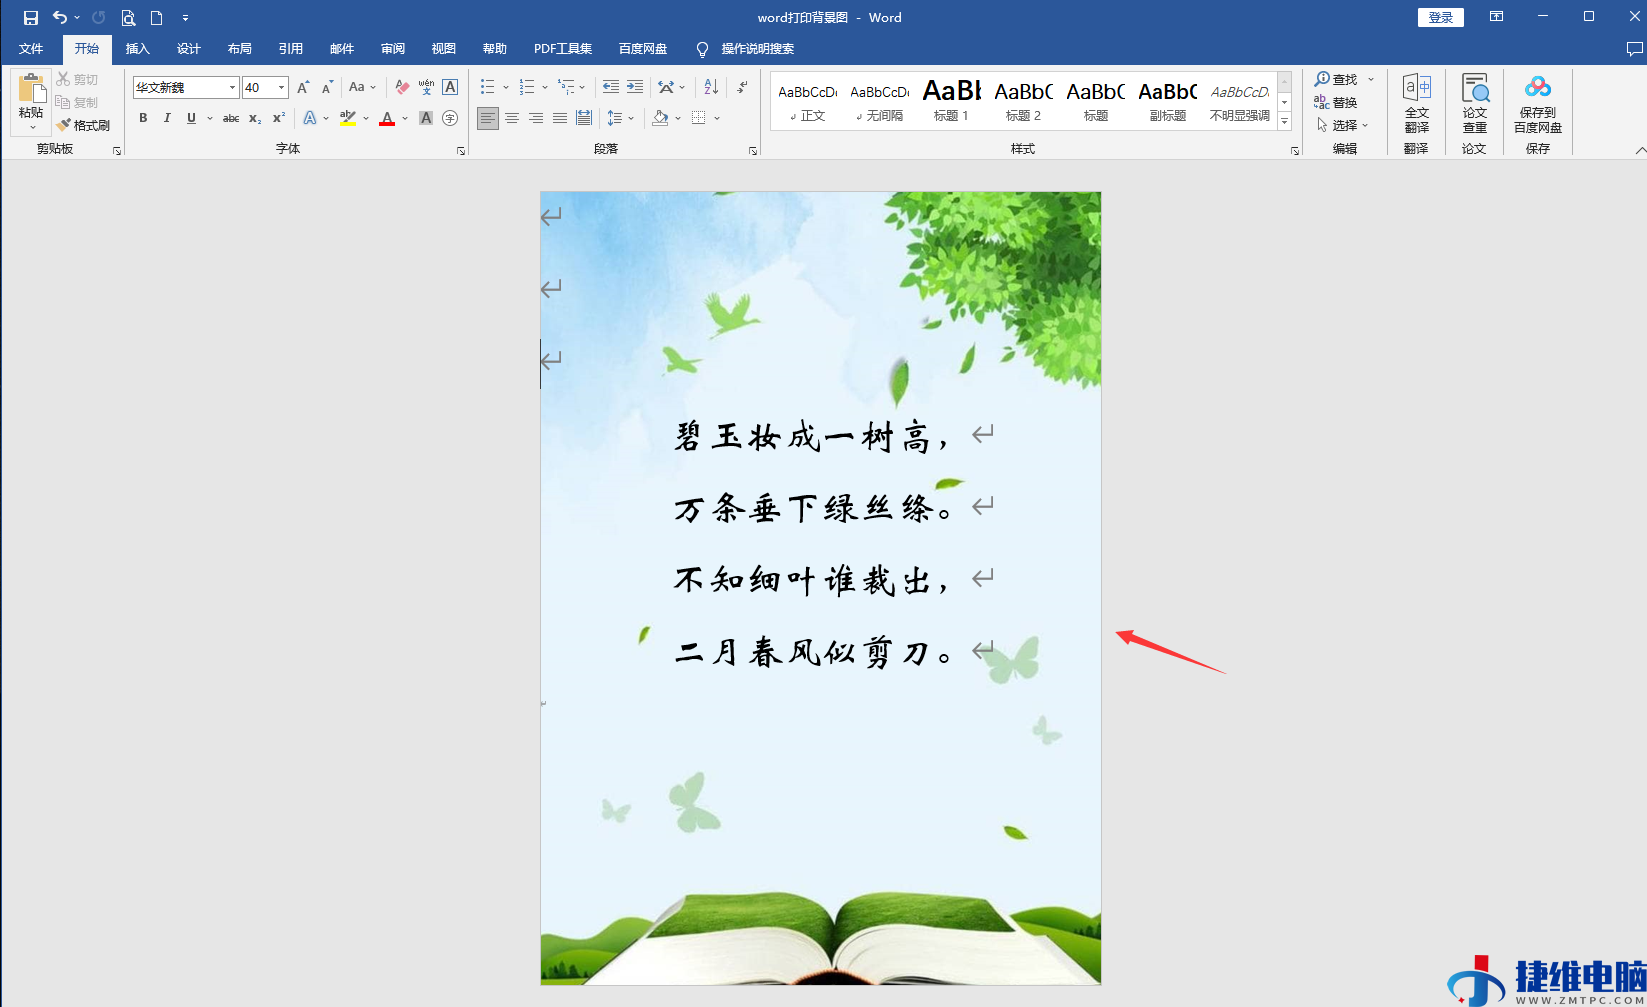
メ选择之后,直接在光标编辑区域输入文字内容即可,调整文字大小。メ

メ为了布局美观,点击布局——点击页面设置——将页边距全部设置为0。メ
メ再点选图片——图片格式——大小——缩放改为100%。メ
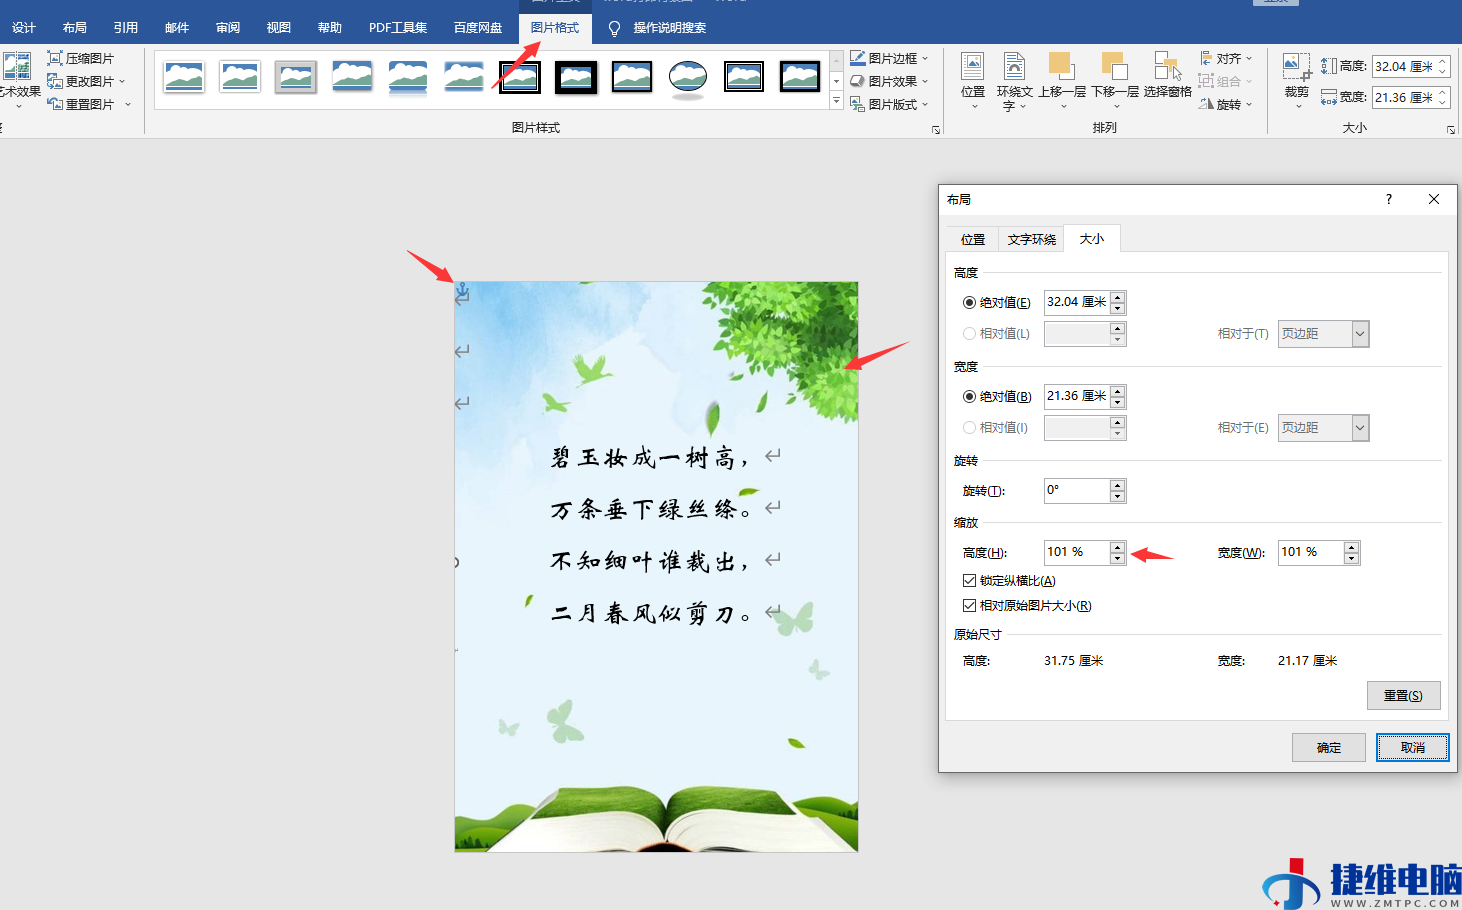
メ简单平铺拖动,完整布局设置,一键打印,希望有需要的小伙伴赶紧GET住。メ
下载方法!帮帮将每天定时更新各种模板素材,获取方式。
1、请在评论区评论+点赞^o^
2、点击关注,关注本头条号
3、进入头条号页面,右上角私信功能,私信回复“表格”,直接获取各类素材。
给这篇文章的作者打赏
 微信扫一扫打赏
 支付宝扫一扫打赏